
The HEIF(HEIC) format is short for High Efficient Image Format which is introduced by Apple with iOS 11. It uses the new methodology to store image files only one third the size than JPEG with the same quality.

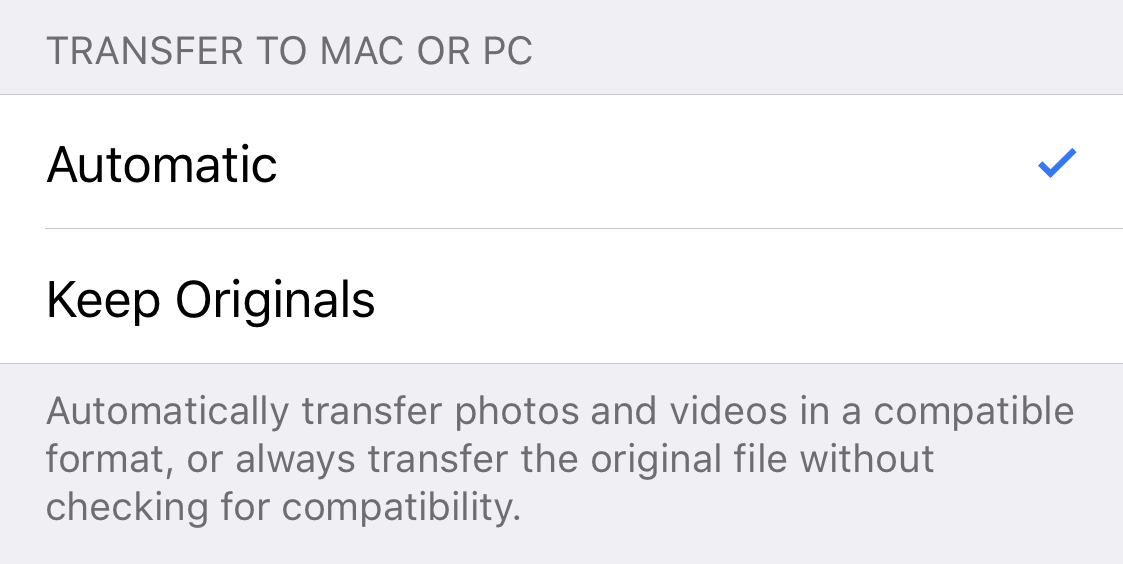
Now the iOS 11 provides the options for users to select either HEIF format or the old way JPEG in the Camera Setting. Also, iOS has another option for users to choose is under Photo Setting, which is the output formats for Mac or Windows. Once the user selects this option to Automatic, iPhone will automatically transfer HEIC files under Mac and JPG files under Windows.
But how about Ubuntu/Linux?
The answer is upset since the Mac is based on Unix itself, the iOS device will recognize the Ubuntu/Linux system as a Mac computer. The output is only HEIC for the image files, at least under Ubuntu 18.04.
Is that any way to CHEAT the iOS and make it thinks Ubuntu as a Windows system instead of Mac? So far, I didn’t find any way for almost two months of studying.
Actually, it happened before, sometimes I can use the Shotwell to import the images on iPhone and the format is JPEG. But the computer can’t recognize the iPhone every time, or the images can’t be transferred every time. This is not what I want.
I even installed 17.04 and 17.10 to do the test, once I can guarantee the connection is built I lost the chance to have JPEG files on the device. It will stick on HEIC format under DCIM folder.
No any photo viewer/organizer under Ubuntu support HEIC yet. It looks that the only way is transferring the files with HEIC format and covert them afterward. Only some command line tools can covert HEIC to JPEG individually.
Let’s solve it, RnR.
Firstly, a brand clean Ubuntu 18.04 with the default installation. After reboot,
sudo apt update
sudo apt upgrade
to upgrade the system to the newest status.
Secondly, install the tools to connect the iPhone.
sudo apt install libimobiledevice-utils
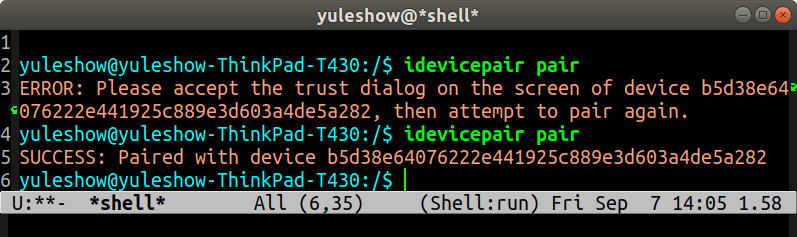
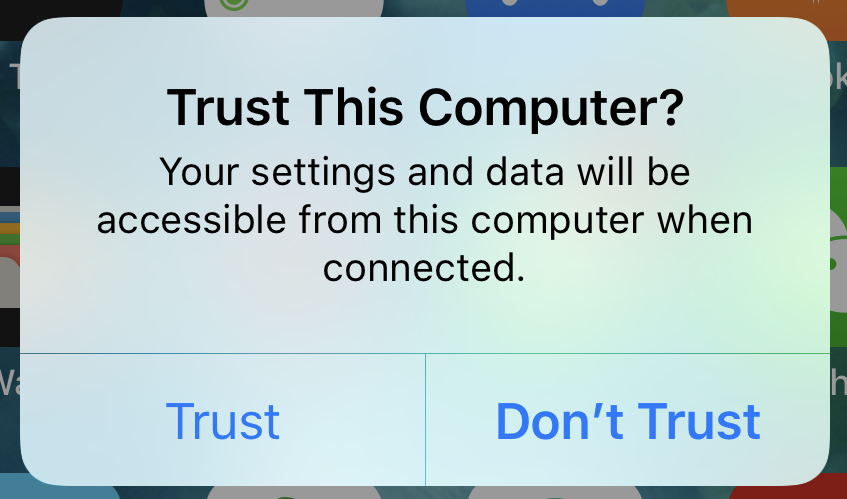
After installation, pair the iPhone, it had to be done twice every time.
Then create a mount point for iPhone, I use /media/iPhone, this is only needed once.
sudo mkdir /media/iPhone
sudo chown yuleshow:yuleshow /media/iPhone
The last one is to assign the point to myself (yuleshow).
Now, install the mount tool.
sudo apt install ifuse
Then mount by:
ifuse /media/iPhone
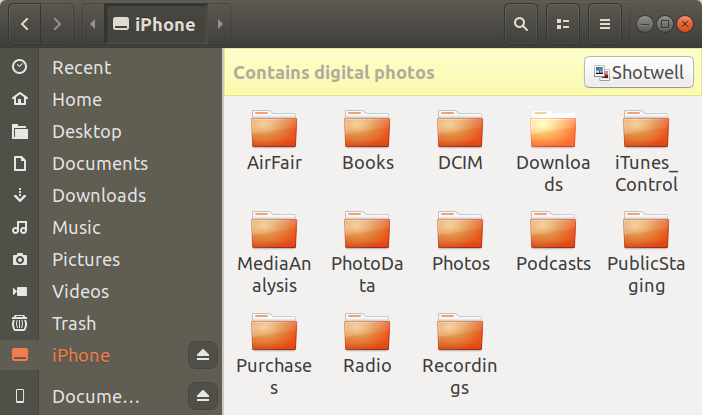
Up to now, the iPhone was successfully mounted to the Ubuntu. I can use the file browser to open the DCIM folder, which contains the images and videos. Every folder basically has 1,000 files but varies after modification and HDR on the phone.
The big thing comes, compile:
Again, firstly for compiling I need install the tools:
sudo apt install cmake
sudo apt install git
Then install the required ffmpeg and the libraries by
sudo apt install ffmpeg
and
sudo add-apt-repository -y ppa:jonathonf/ffmpeg-3
sudo apt-get update
sudo apt-get install libavcodec-dev libswscale-dev
Make an empty folder (following command without the folder creation) and compile the vips under it:
sudo apt-get install build-essential pkg-config libglib2.0-dev libexpat1-dev libjpeg-dev libexif-dev libpng-dev libtiff-dev
wget https://github.com/jcupitt/libvips/releases/download/v8.6.1/vips-8.6.1.tar.gz
tar xzf vips-8.6.1.tar.gz
cd vips-8.6.1
./configure
make
sudo make install
Make another empty folder (following command without the folder creation) to compile tifig within the folder
make another empty folder
git clone --recursive https://github.com/monostream/tifig.git
mkdir tifig/build && cd tifig/build
cmake ..
make
Then copy tifig to /usr/local/bin, now I have the covert tool tifig but still can’t batch do the conversion.
perl is here, I created the following perl script and also chmod and put under /usr/local/bin as heictojpeg without file extension.
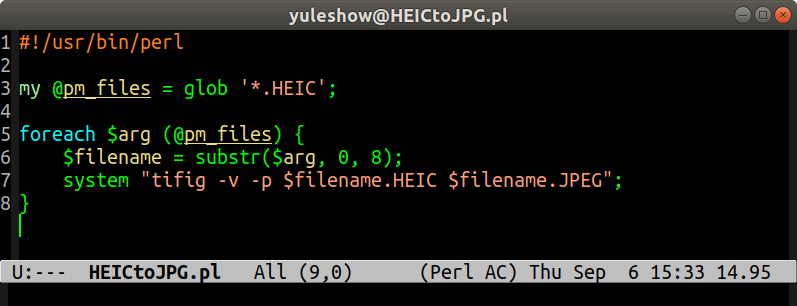
heictojpeg
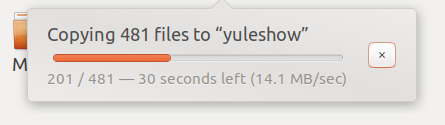
under any folder contains HEIC will automatically convert all the HEIC files to JPEG.
Bingo!